Weather information plays an important role in a lot of your daily tasks. Having the forecast and the conditions of the past days on your fingertips helps you to successfully manage your tasks. In combination with evernote you will have the necessary information where and whenever you need it.
This tutorial will show how to add a free weather forecast, current condition and weather history data link specific for the location your tasks take place. This without and cost or eve sign-up requirement.
Step 1 – copy the URL for your individual location forecast
Navigate to the free Visual Crossing Easy Weather Forecast site in your web browser: https://www.visualcrossing.com/weather-forecast , enter your location of interest and your preferred measures units.
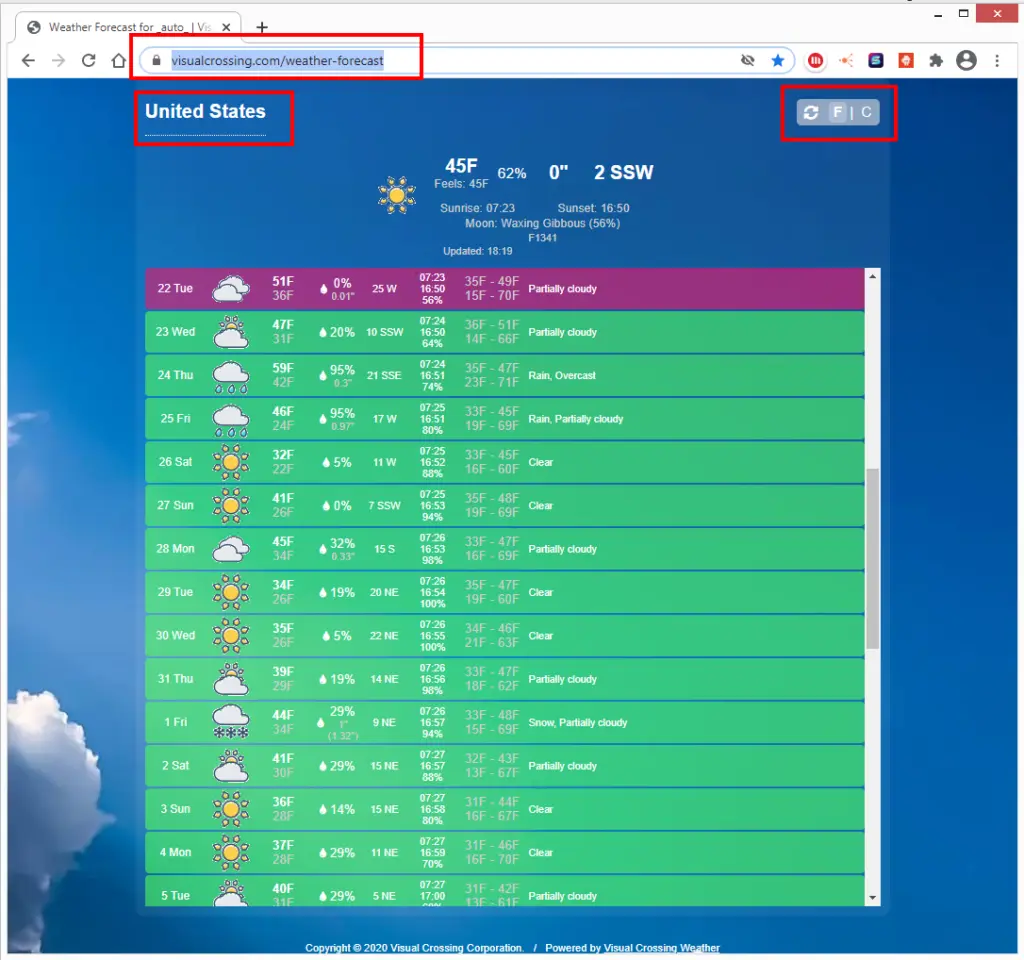
Once the site updated copy the parametrized URL. For example for Hamburg, Germany and metric values: https://www.visualcrossing.com/weather-forecast/hamburg/metric
Step 2 – Log in to evernote on your preferred medium and open your notebook
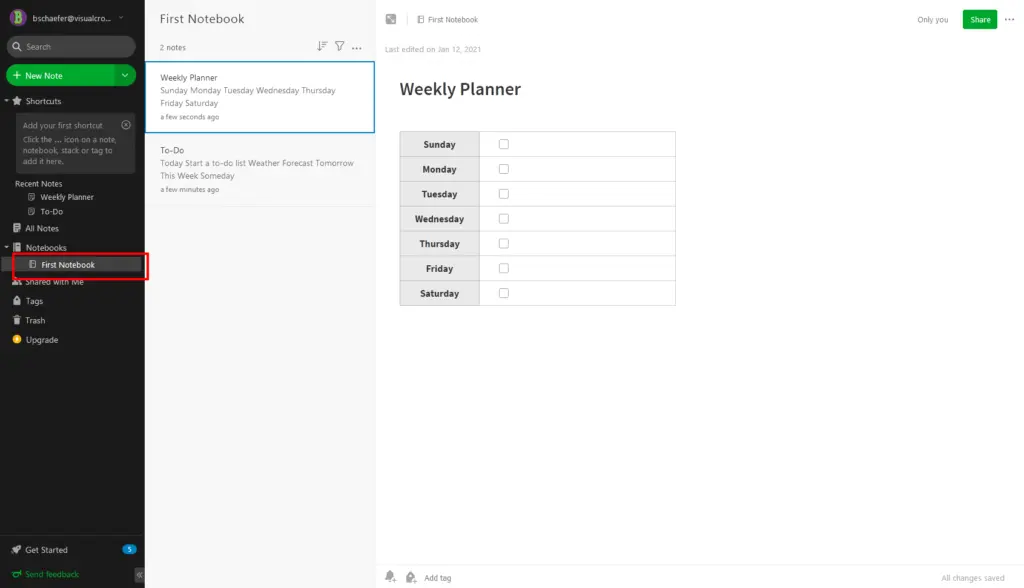
Step 3 – Add a note to your notebook
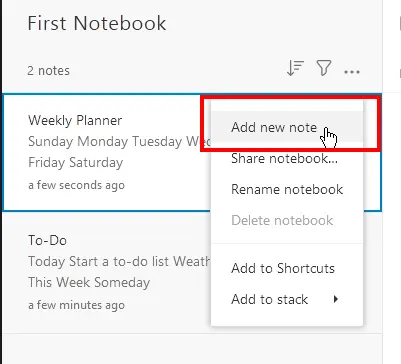
Step 3 – Add the weather link to your note
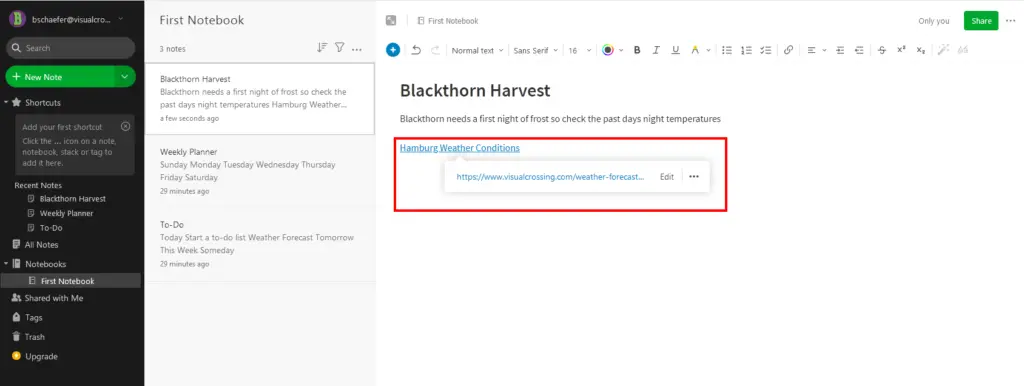
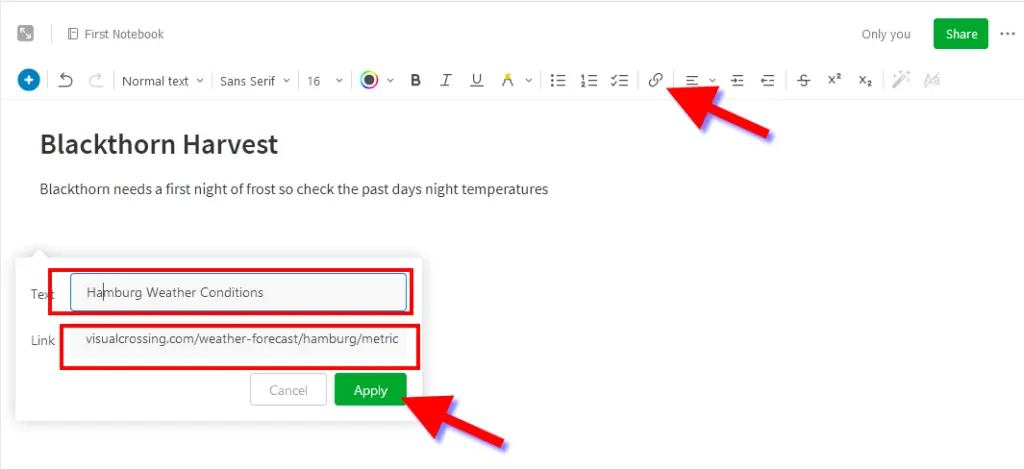
Name your note and describe your task. A typical example is your blackthorn harvest. Needing a sunny day for the actual plucking and some frosty nights before. To add the direct link to the weather information hit the ‘Insert Link’ button , name your entry and paste the link generated in Step 1 of this tutorial. Finally hit the ‘Apply’ button.
Step 4 – check the weather conditions before tackling your tasks
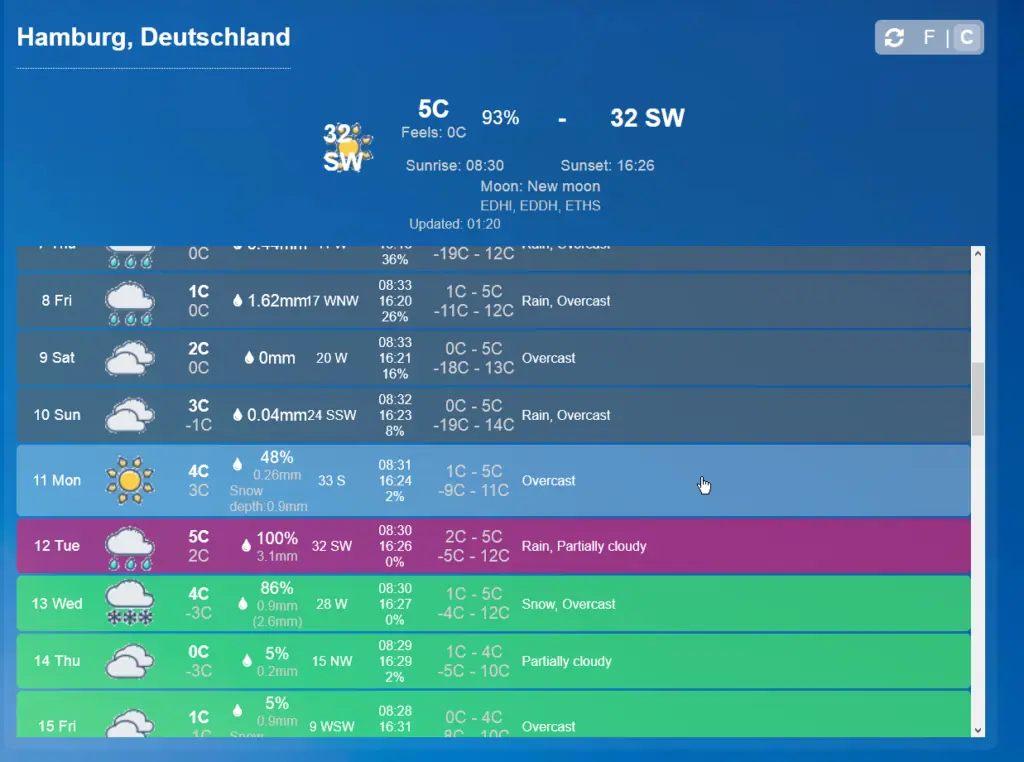
Simply hit the link in your note and get immediate access to the weather data of last 15 days, the current conditions and the forecast, estimated weather for the next 30 days. All this on a daily or even hourly level.