If you are not using the Visual Crossing Weather REST or OData API directly to retrieve historical weather data sets you can visit the Visual Crossing Web Query interface instead. This allows you to easily generate query strings for your Weather API as well as generating CSV or JSON files for direct download via a graphical point and click interface.
One component is the calendar control to set the date range for the weather data of interest. This article shows the usage of the calendar control.
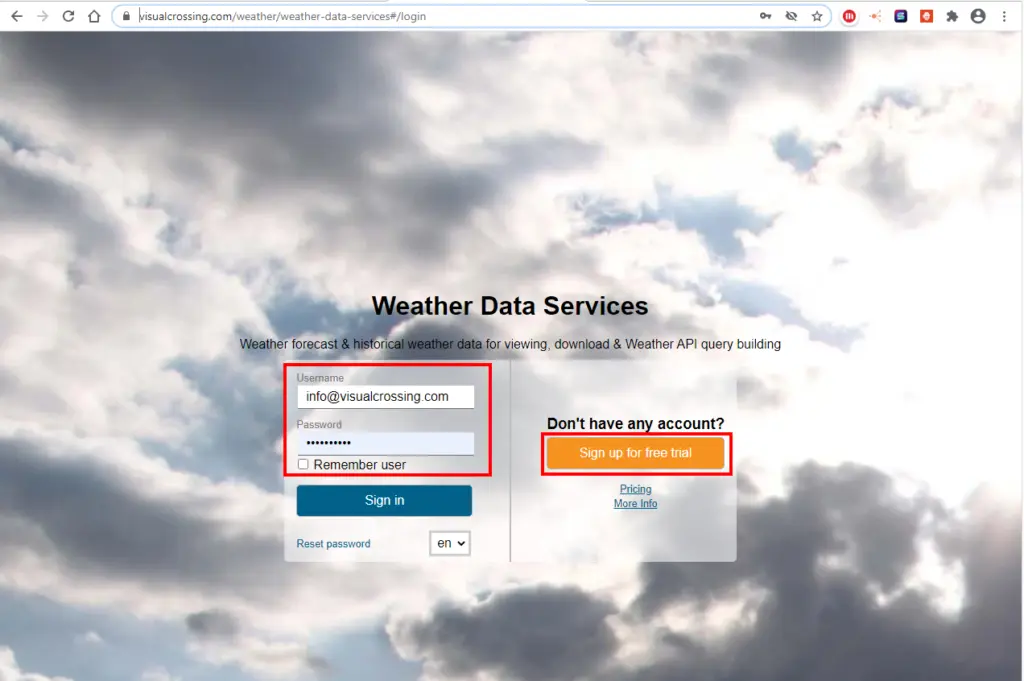
Step 1 – log into your Visual Crossing Weather Data Services Account
The first step is log in to Visual Crossing Weather Services. if you don’t have an account, you can create a free one.
Step 2 – Set the parameters for the historical weather data set in the Calendar Control
When selecting the ‘Historical Data’ option in the ‘What weather data would you like?’ from the options area, you will see – next to the other options like unit type or time interval – the ‘Date Range’ section.
In order to enter the required dates Click directly onto the data field
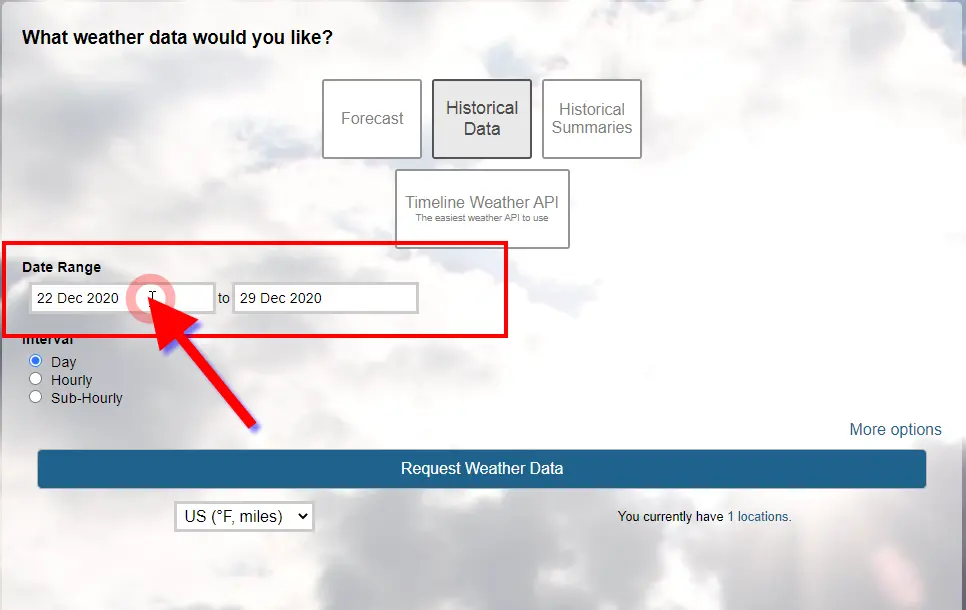
This will open a calendar control allowing you to navigate to the required date

NOTE: it currently is not possible to enter the date manually
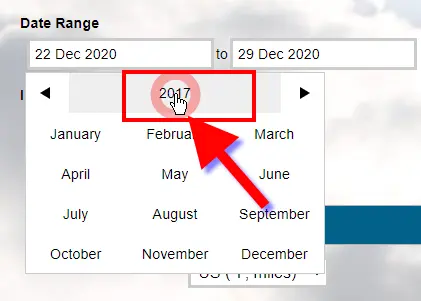
Step 3 – Setting the year in the Calendar Control
If you wish to go back in time several years you do not need to flip through all month manually but can shortcut by clicking on the ‘Month Year’ entry of the calendar
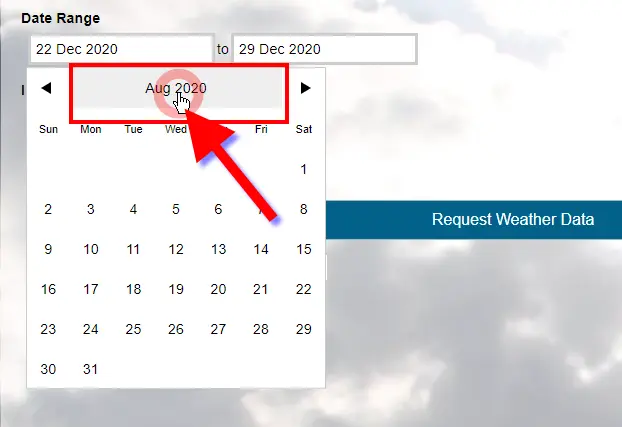
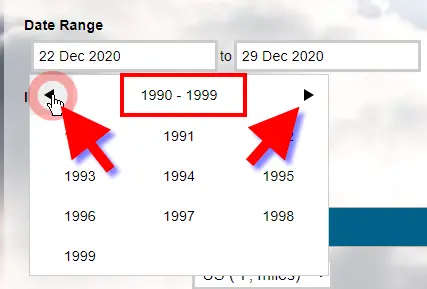
This opens another selector to flip through the years by clicking on the arrows in the upper corners
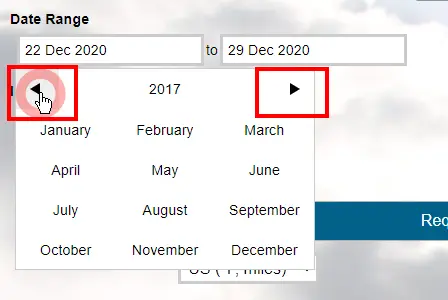
Clicking on the year counter again will bring up the decade selector to move even faster through time.