

Weather plays a crucial role in many planning processes. May it be outdoor work tasks, shipping challenges or production related processes.
This article shows the necessary steps to load weather forecast data for any location of the world into Microsoft Planner using Microsoft Power Automate. A new Task will be added showing the needed weather information for a given day so the acting personnel can check if any of the tasks scheduled or due for that date need to be postponed or can be dealt with as planned. The base is an self updating excel sheet tutorial shows step-by-step how to construct an self updating Microsoft Excel Sheet, put on OneDrive which then will be linked to Planner to add the weather information so the outstanding tasks can be adjusted as required.
Step 1 – Create an Excel sheet with weather forecast
You find a detailed instruction on how to set up and Excel workbook with automatically updating weather forecast data under :
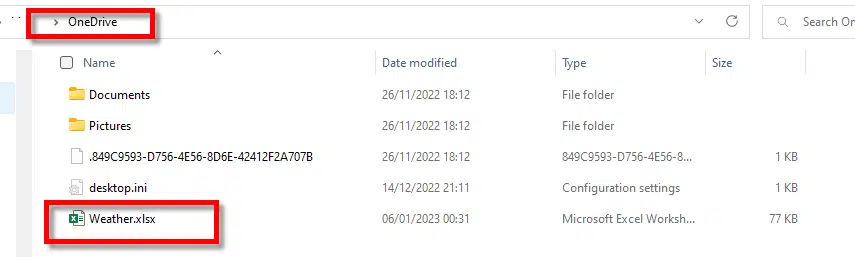
Step 2 – Copy your Excel Sheet to your OneDrive folder
Step 3 – Configure Microsoft Power Automate Flow
To set up the flow perform the following actions:
Open the Power Automate App
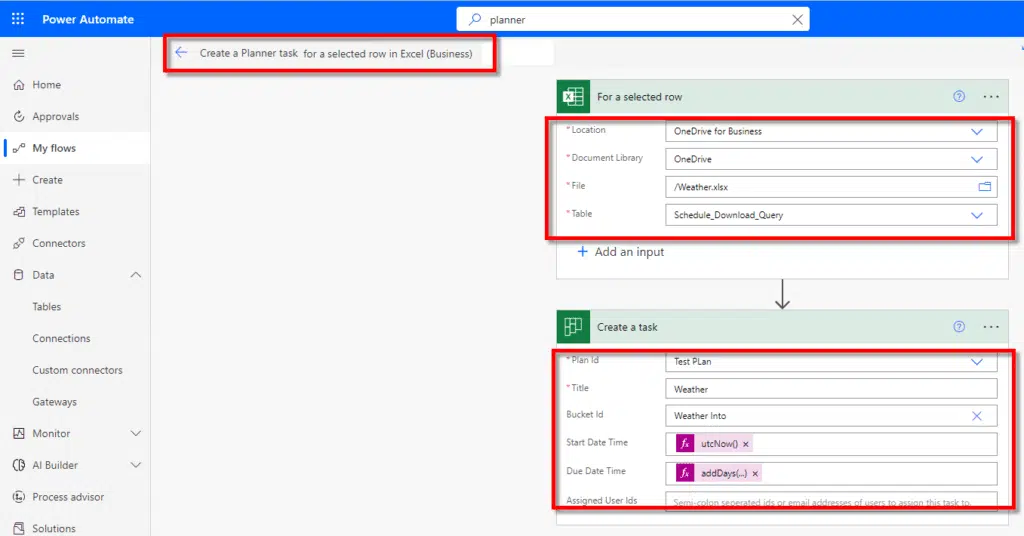
create a new flow ‘ Create a planner Task for a selected Row in Excel’ and fill in your Excel File information and the target task
Step 3 – Optional Automate the execution of the flow
In some scenarios you might want to automatically update your tasks with the latest forecast.
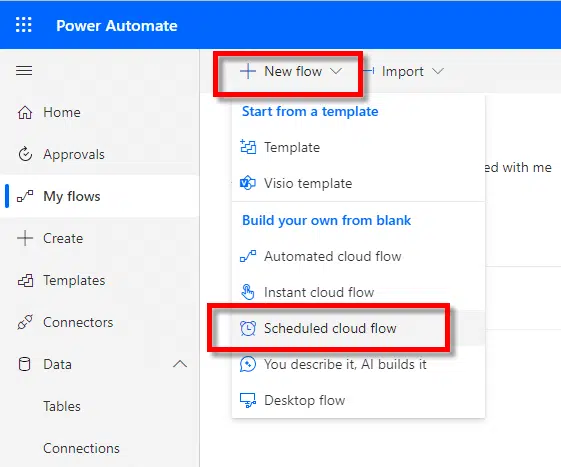
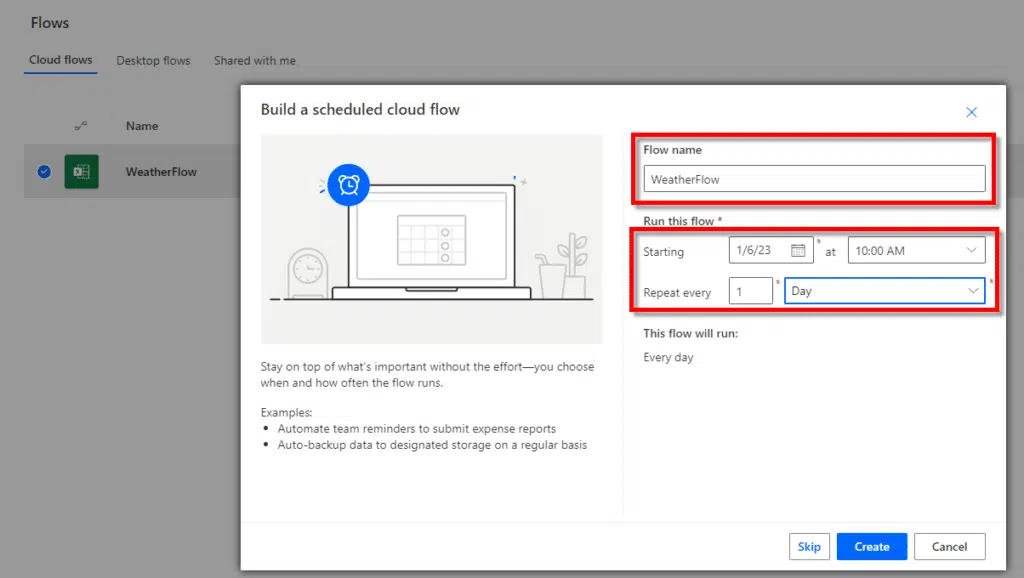
Power Automate allows to set up scheduled flows as well – to do so start with the Scheduled Cloud Flow option from the New Flow drop down menu
Set the schedule as required
Add the actions as outlined under Step 2
Questions or need help?
If you have a question or need help, please post on our actively monitored forum for the fastest replies. You can also contact us via our Support Team.